Getting Started
Steps of creating a project in Keil micro vision 5
Open Keil micro vision 5.
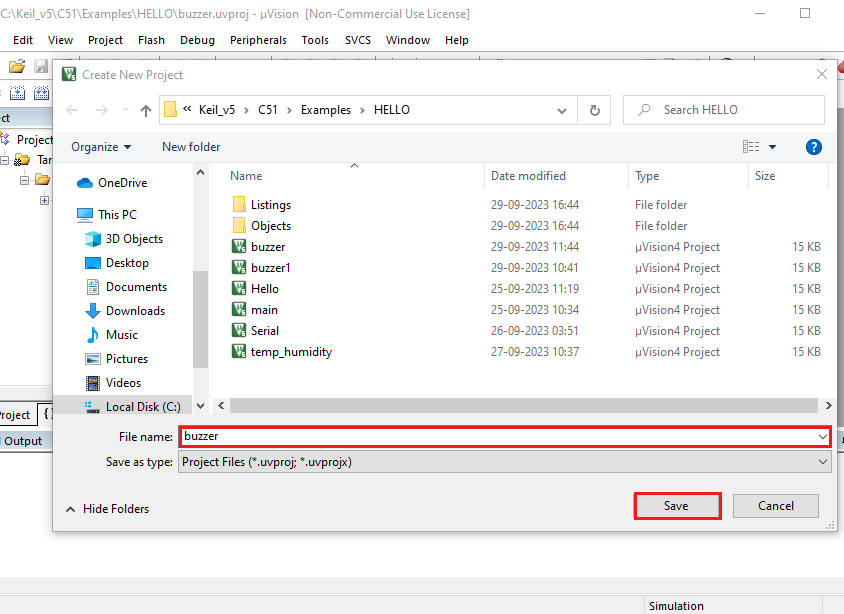
Create a new project: Go to the Project Menu >>Select New µVision Project >> Change the Filename: buzzer >> Click Save. A Project file will be created with .uvproj extension.
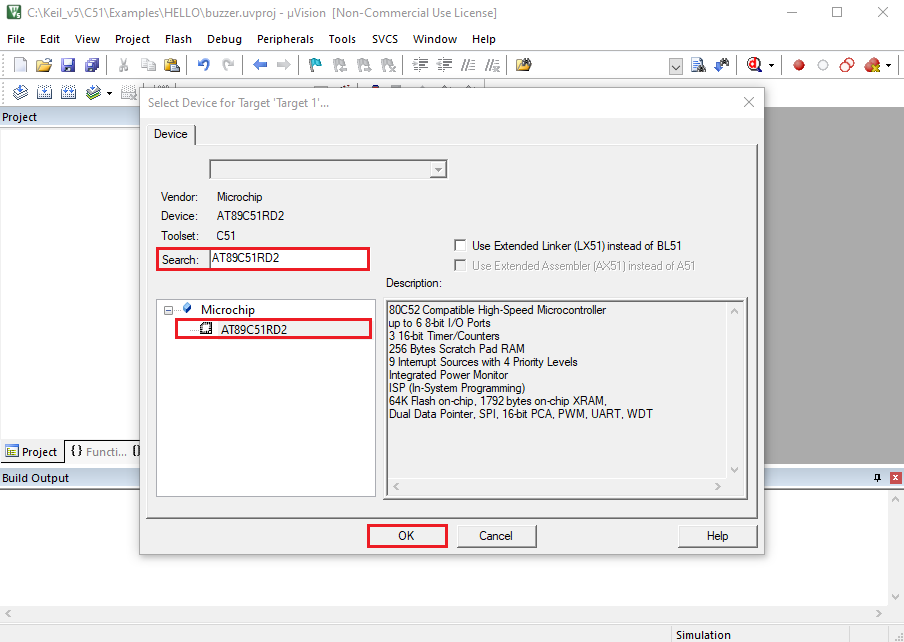
- A screen opens up. Search for 'AT89C51RD2' microcontroller >> Click 'AT98C51RD2'>> Click OK.
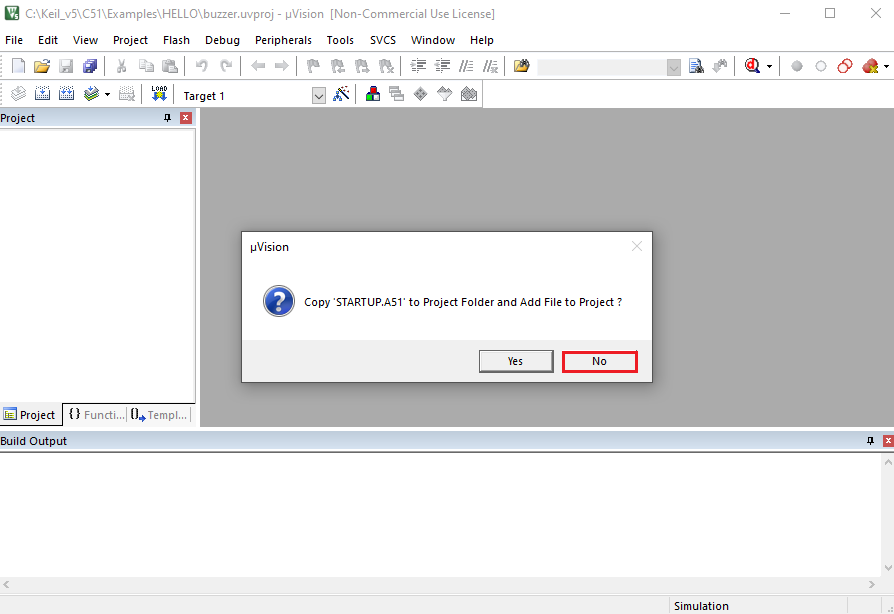
- A pop-up screen appears as shown >> Click NO.
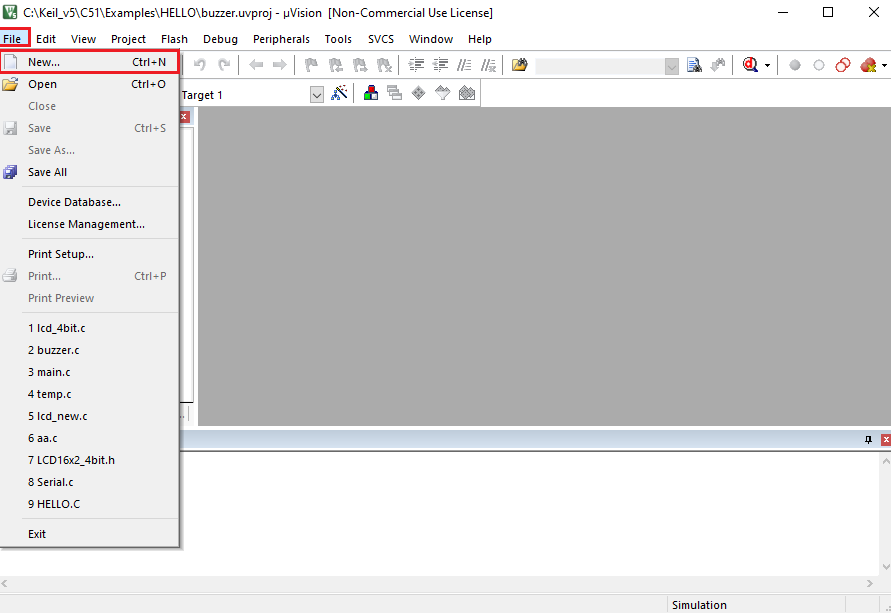
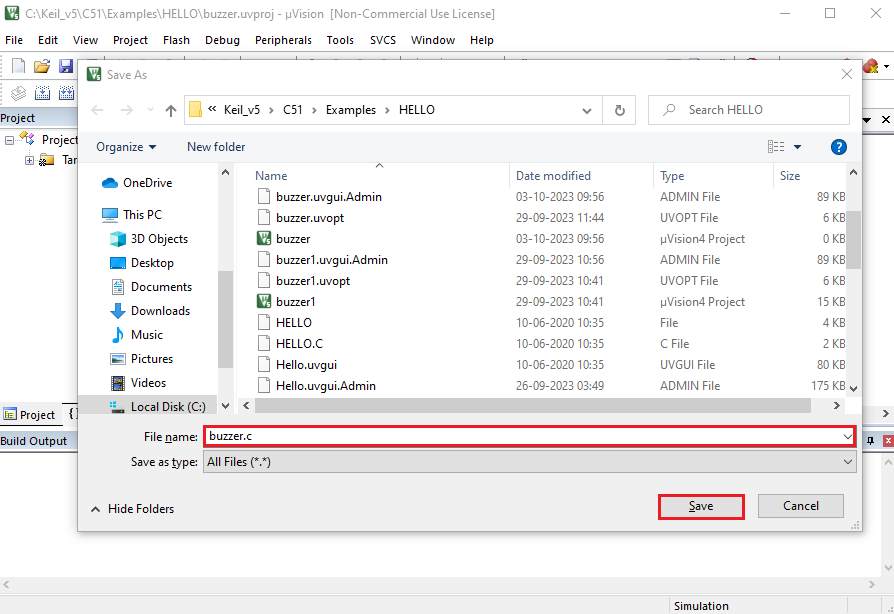
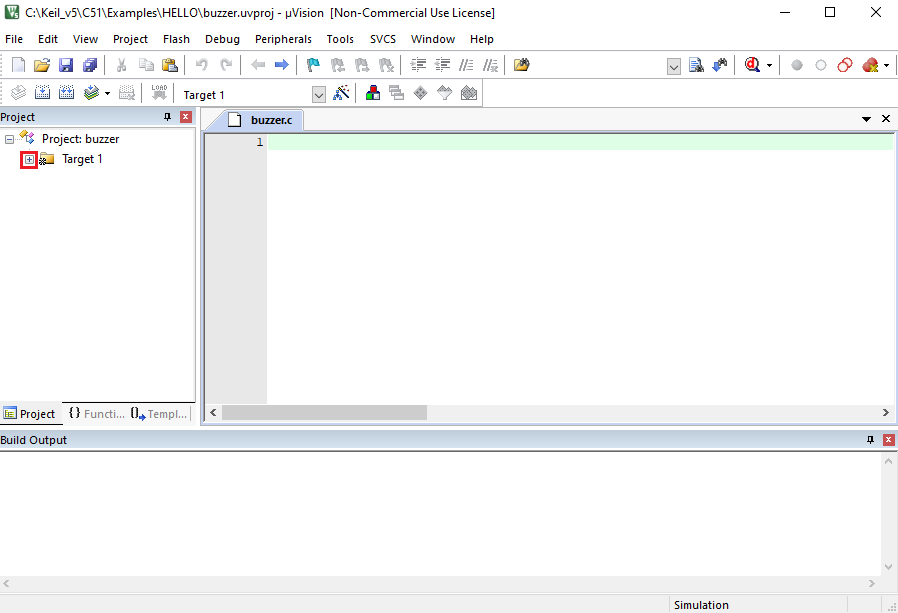
- Go to File menu >> Click New >> Text1 file will be created >> Save the filename as 'buzzer.c' >> Click 'Save' button.
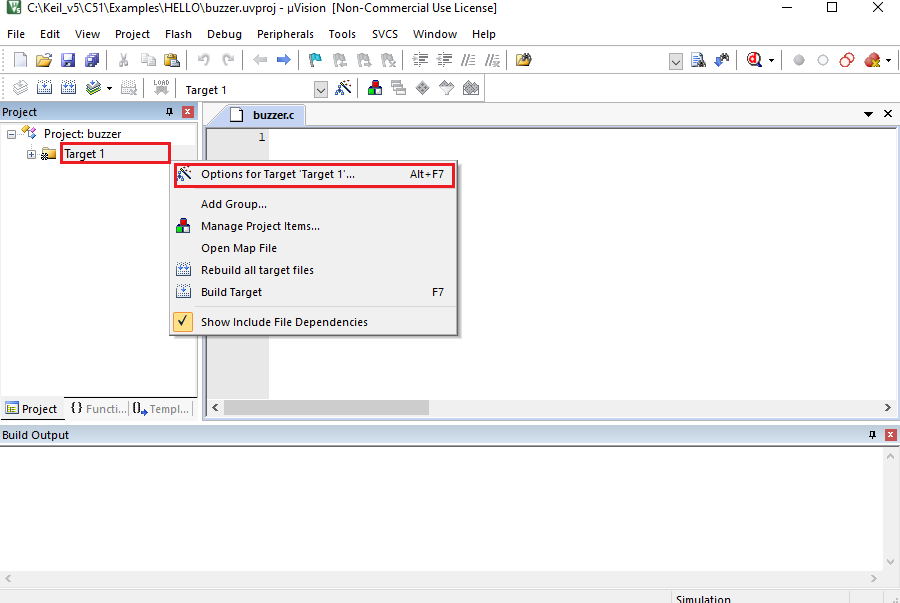
- In Project menu >> Right click on Target 1 >> Click on Options for Target ‘Target 1’.
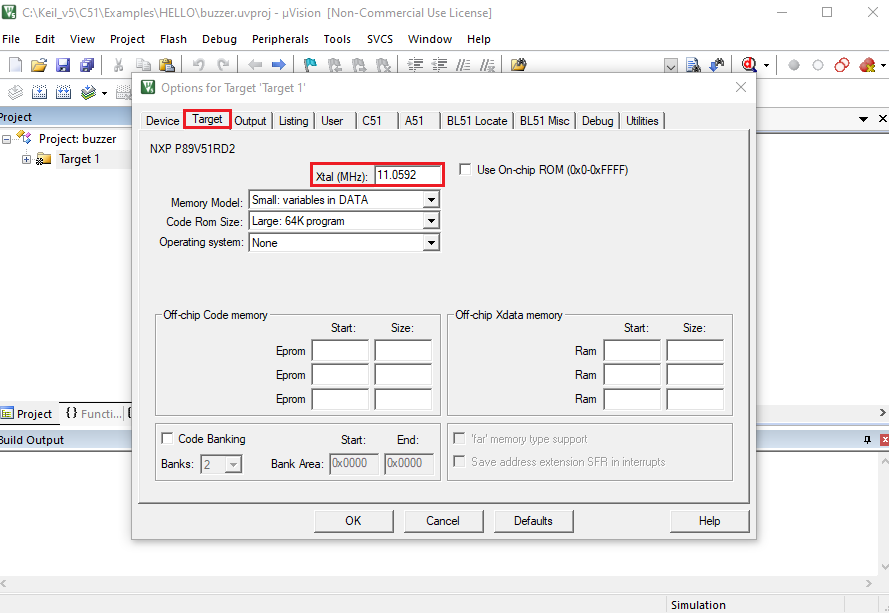
- Options for Target ‘Target 1’ >> Target >> Select Xtal (MHz): 11.0592.
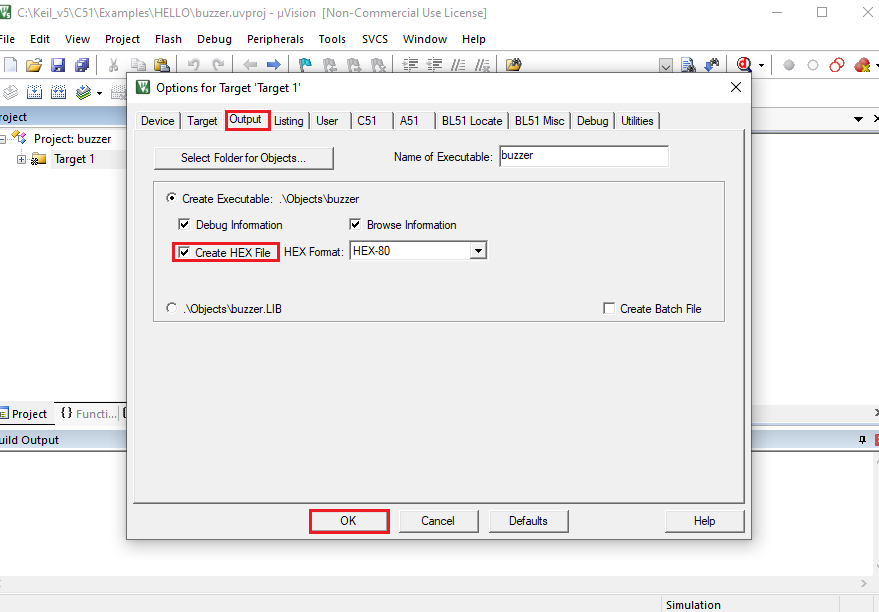
- Options for Target ‘Target 1’ >> Output >> Check Create Hex File >> Click OK.
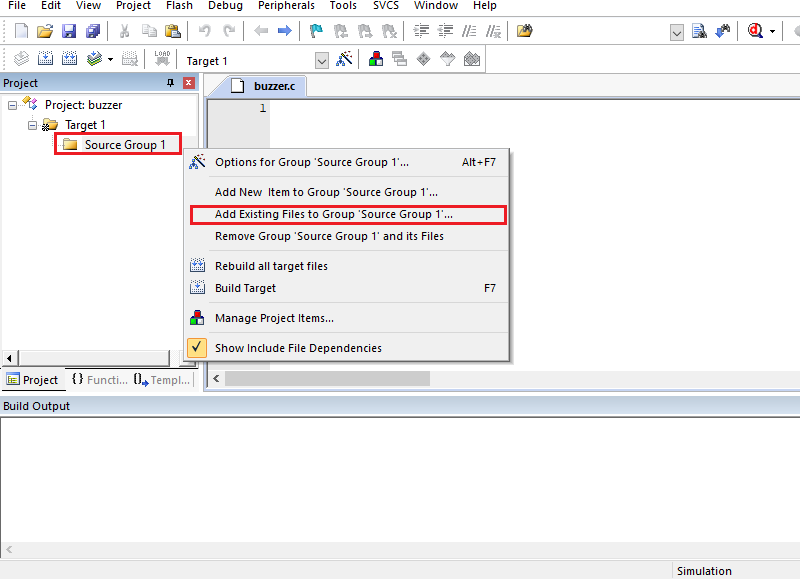
- Click the '+ icon' next to Target 1 >> Source Group 1 will appear >> Right-Click the 'Source Group 1' >> Select 'Add Existing files to Group 1 Source Group 1' -> Browse & Select the ‘buzzer.c’ file >> Click ‘Add’ button >> Click 'Close' button.

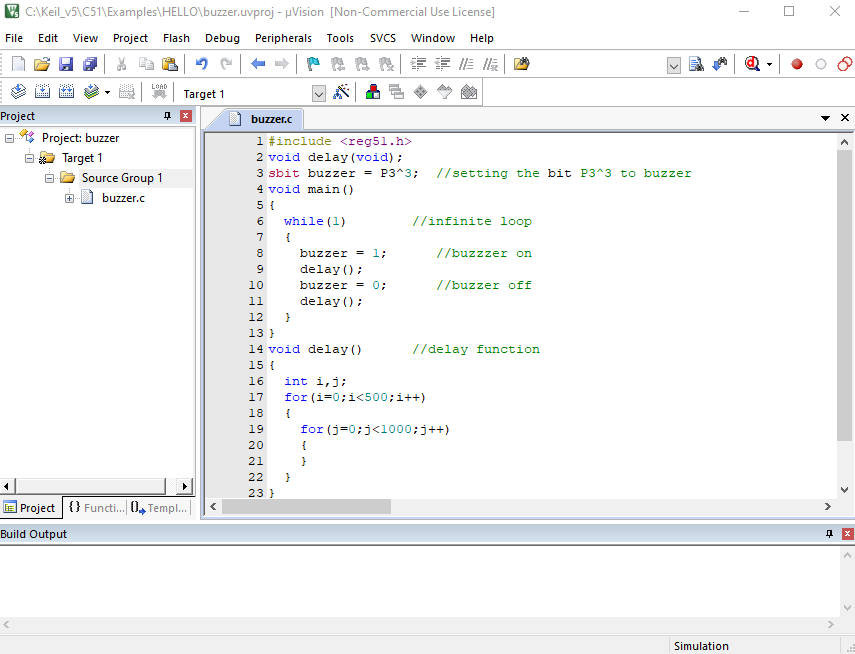
- Write the program in 'buzzer.c' file >> Save it.
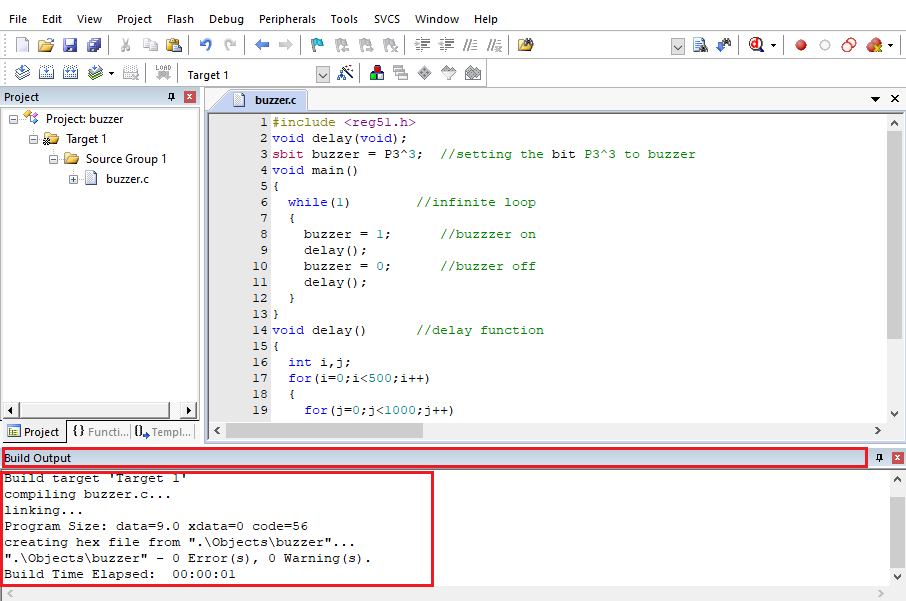
- In 'Project' menu >> Select 'Build Target'.

- In Build Output Window >> '0 Errors' should be reflected.
Steps for using Flash Magic Software for burning program ito microcontroller.
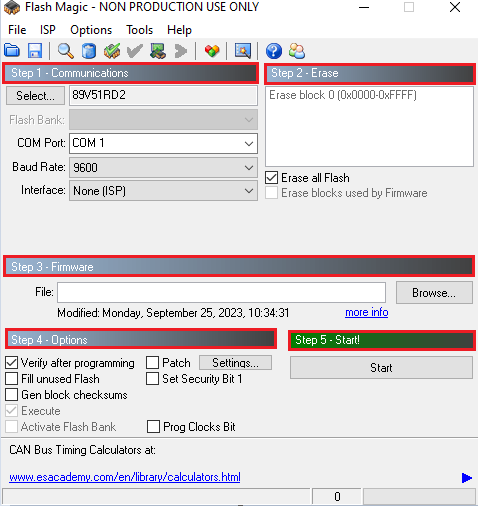
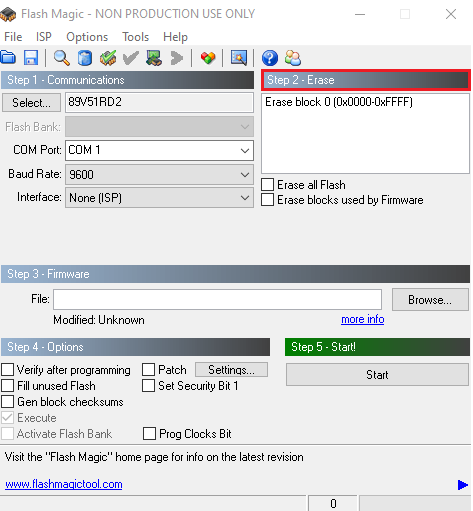
Go to ‘Flash Magic’ Icon, it will open the main window, you can see 5 sections.
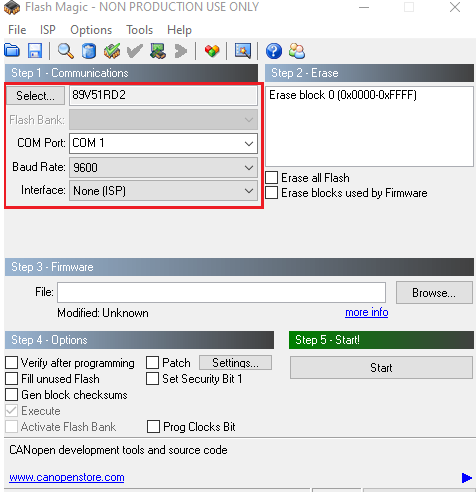
- Communications
- Erase
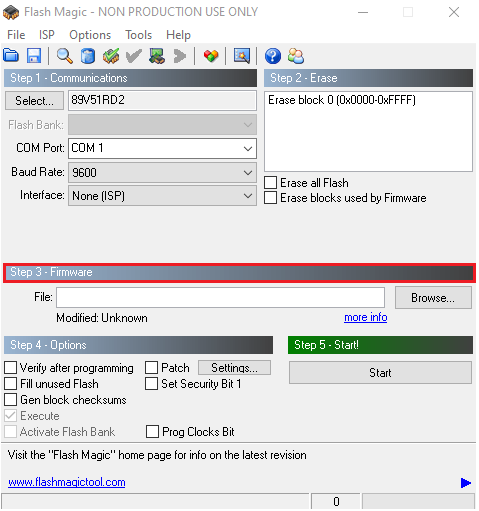
- Firmware
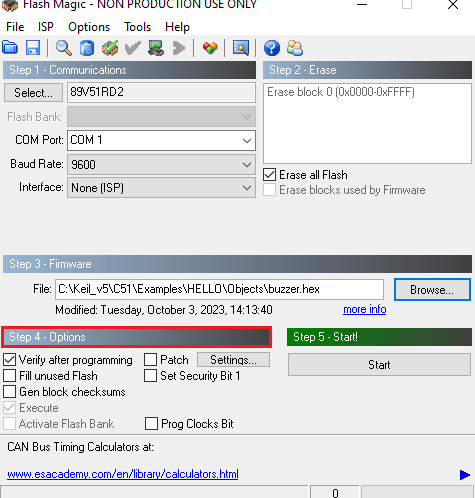
- Options
- Start
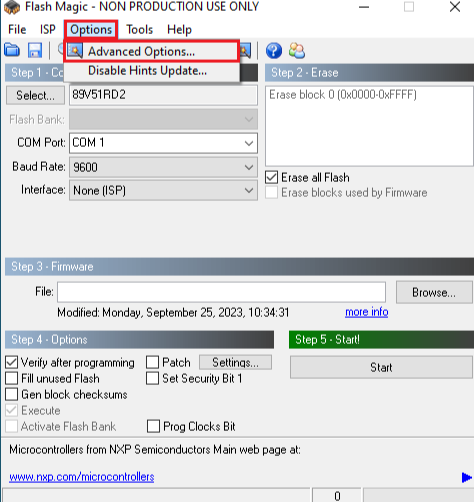
- Go to “Options” in the toolbar, and select the first menu ‘Advance options.’
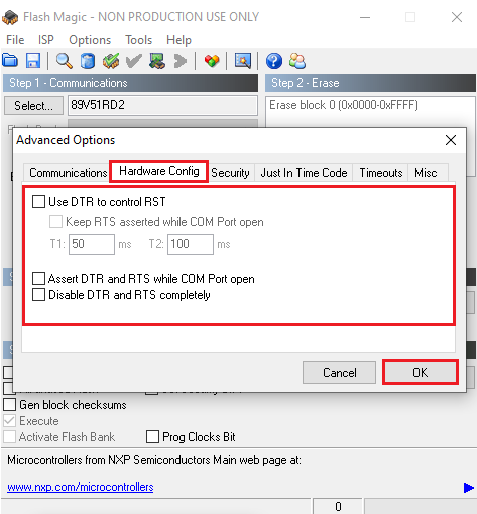
- Uncheck the box & Click OK.
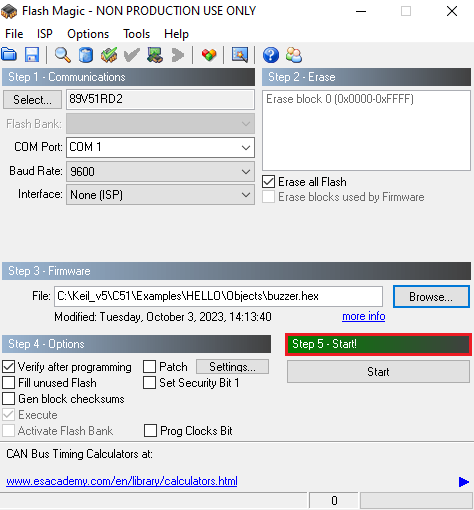
- In Communications Section: Select Device ‘89V51RD2’.
- Select the correct COM port by checking your device manager.
- Select the Baud Rate to '9600'.
- Select 'None(ISP)' in the Interface option.
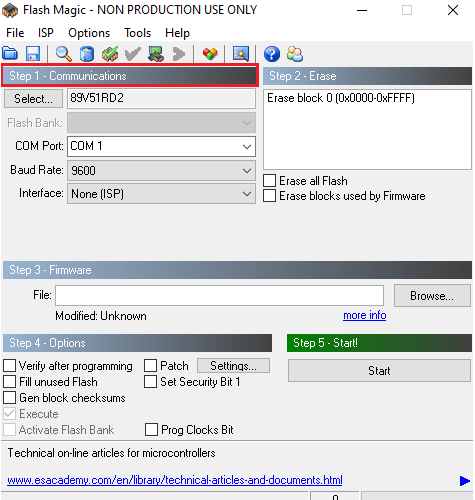
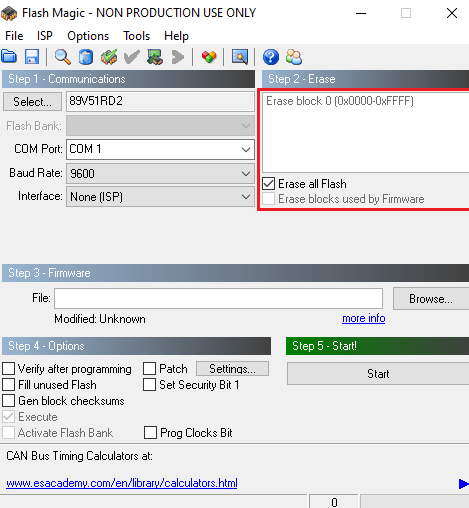
- In Erase Section: Check 'Erase all Flash' box.
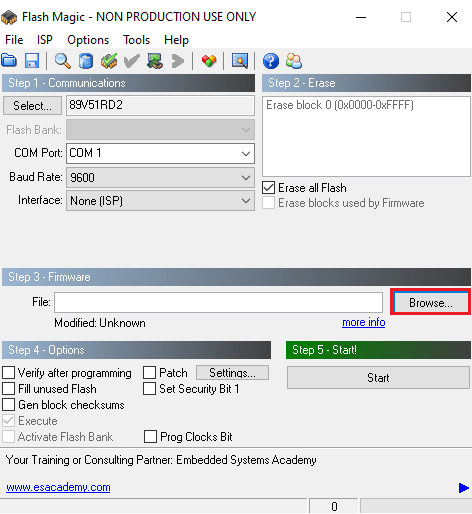
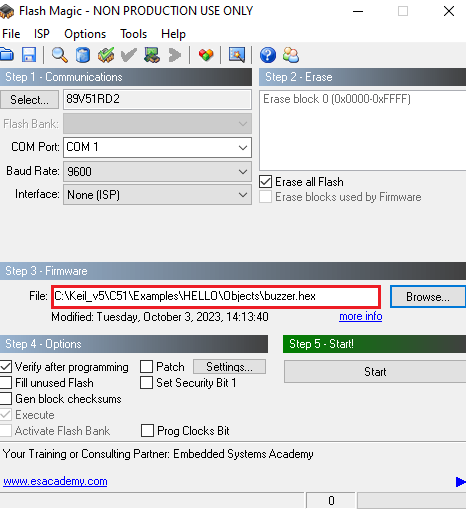
- In Firmware Section: Click 'Browse' to select the buzzer.hex file that we need to burn into microcontroller.
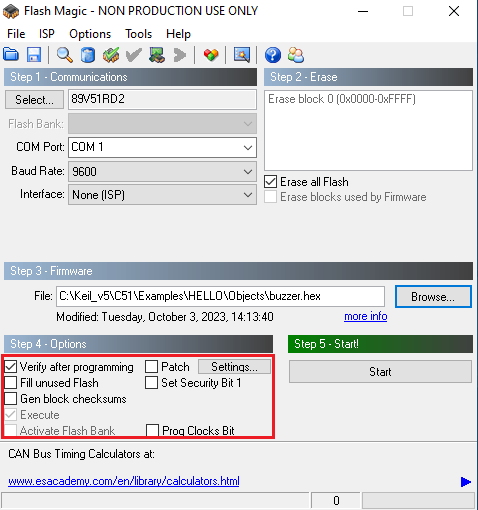
- In ‘Option’ Section: Check ‘Verify after programming’ option. This will verify hex file after loading.
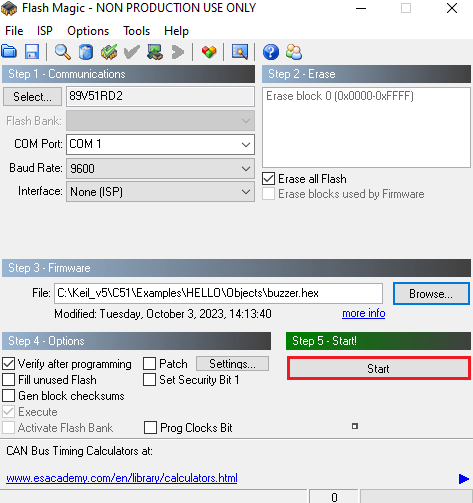
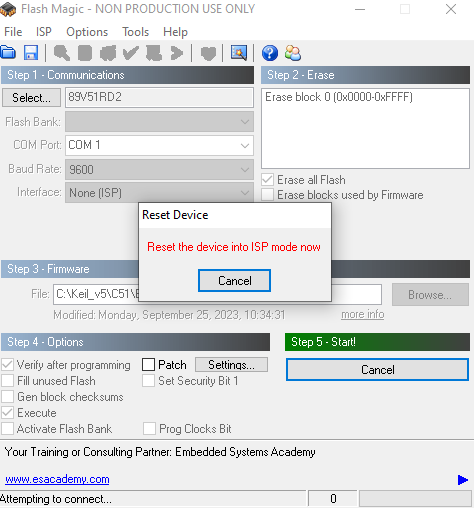
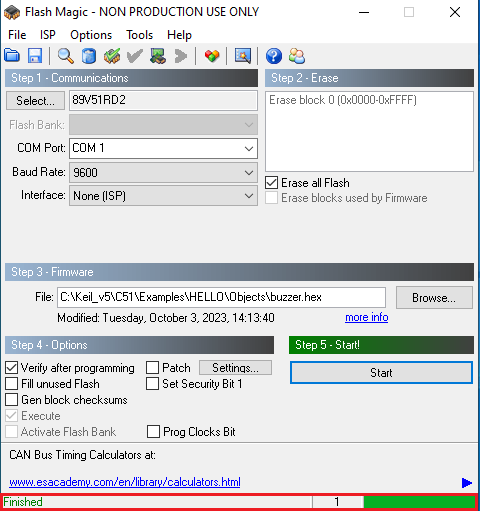
- In Start Section: Click 'Start' button, it will ask to 'Reset the device into ISP mode', click the reset button on hardware board, at the bottom of Flash Magic panel you will see 'Finished' as shown, indicating that the program has been successfully loaded into microcontroller device.